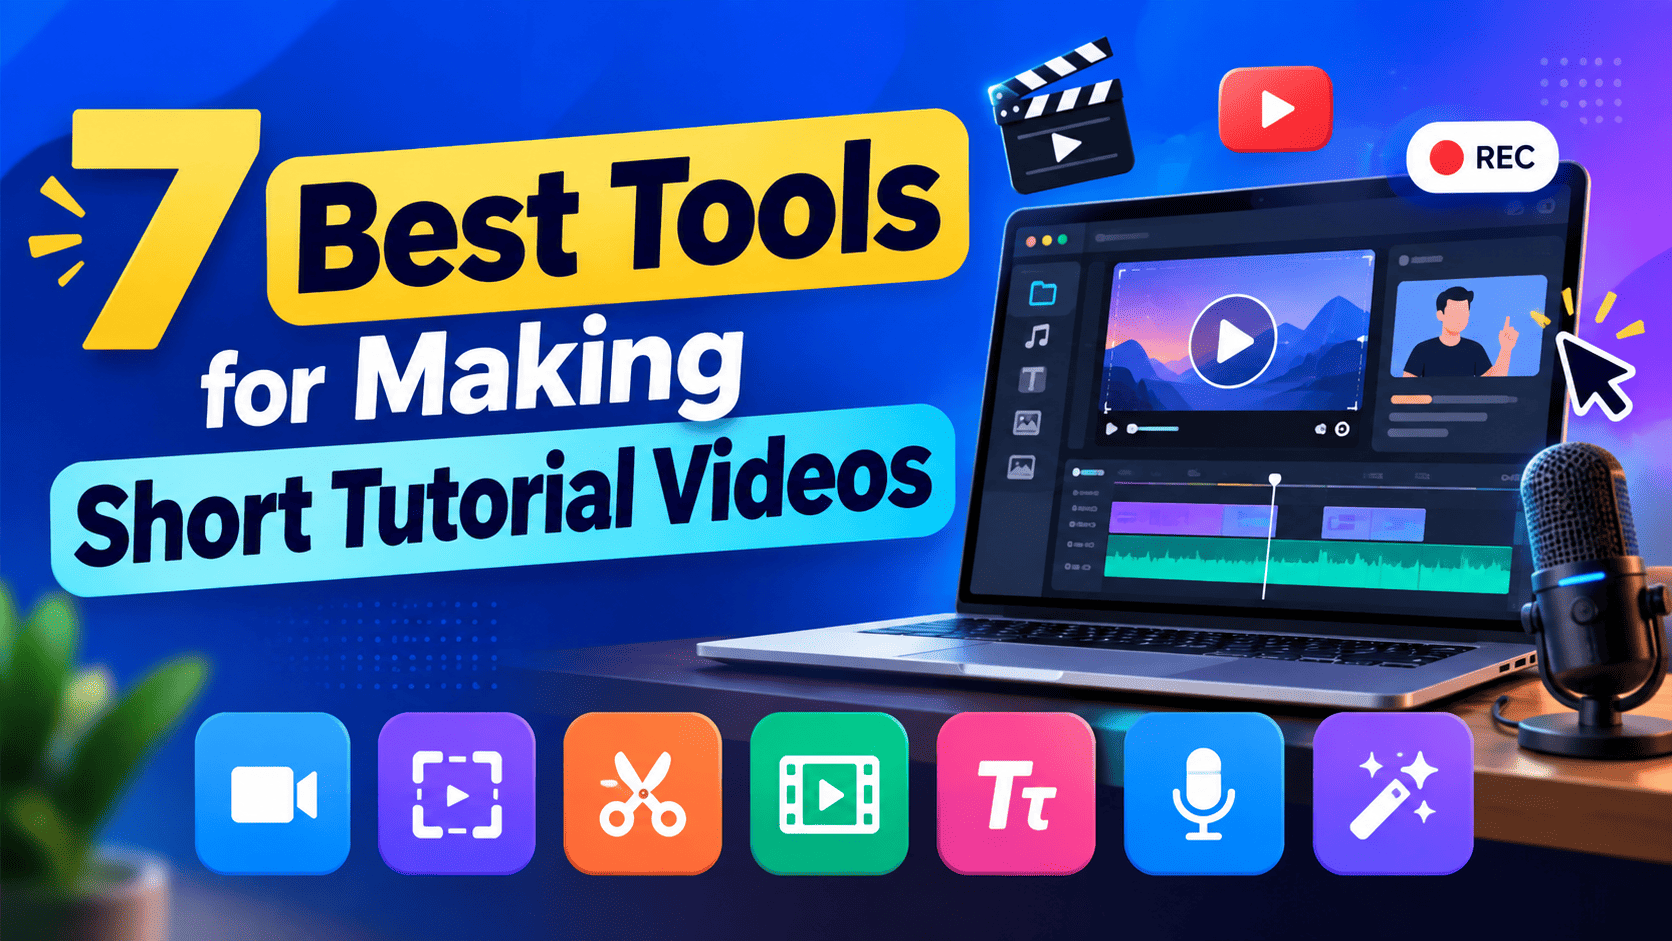
7 Best Tools for Making Short Tutorial Videos-A useful tutorial solves a specific problem. It might explain a spreadsheet formula, introduce a classroom topic, or show a small business how to prepare a social post. Viewers do not need an impressive collection of effects; they need a sequence they can follow. The right tools make that sequence easier to produce without turning every video into a complicated editing project.
This guide separates seven options by their role in production. Some create visuals, some record real actions, and others organize or finish a video. They are not interchangeable, and this is not a claim that every product was tested against the same benchmark. Start with the task you actually need to complete, then check current pricing, export restrictions, and usage rights on the official product pages.
1. Magic Hour: create visual scenes when filming is impractical
An explanation sometimes needs a scene that you cannot conveniently film. A teacher might want an imagined landscape for a story, while a creator may need a visual opening for a software lesson. Magic Hour’s AI video generator is relevant for exploring these short visual concepts. Describe the subject, setting, motion, and intended style rather than asking for a complete lesson in one instruction.
Use generated scenes as illustrations, not evidence. A synthetic laboratory should not be presented as footage from an actual experiment, and an imagined historical setting should not be labeled authentic documentation. Review each result for distorted details, inconsistent movement, and unwanted text. The creator remains responsible for deciding whether a clip explains the idea accurately.
A practical first project is a short introduction with one clear movement. Make a draft, inspect it, and only then decide whether another attempt is worthwhile. This keeps experimentation attached to a concrete lesson instead of spending time generating scenes that never enter the final video.
2. Magic Hour Image to Video: build movement around an existing illustration
When you already have a suitable diagram, original drawing, or licensed image, an image-to-video workflow offers a different starting point. The image gives the scene a visual reference, while the prompt describes the movement you want. This can be useful for a story opening, a concept presentation, or a short creative exercise built around artwork.
Keep the instruction modest. A gentle camera movement may communicate more clearly than a dramatic transformation that changes the subject. Compare the output against the original image and reject versions that alter important details. For a technical lesson, a diagram with precise labels may be better left still, with motion added elsewhere in the edit.
Obtain permission for the source material. A photograph found online is not automatically available for transformation, and a student’s portrait requires appropriate consent. Save the original file and a record of its source so you can identify what changed during production.
3. OBS Studio: record the actual steps on screen
For computer tutorials, a real screen recording is often the clearest source material. OBS Studio is a useful option for capturing a demonstration rather than reconstructing it with synthetic visuals. Plan the steps first, close unrelated windows, and record a short sample to check the display and microphone.
Increase the application’s text size when possible. A spreadsheet that looks readable on a large monitor may become impossible to follow on a phone. Pause briefly after important clicks so the viewer can see the result. If you make a mistake, leave a clean pause and repeat the step; that creates an obvious place to cut during editing.
4. Canva: make clear titles and supporting visuals
Canva can help organize title cards, simple layouts, and supporting graphics. It is most useful when the lesson needs visual structure rather than complicated motion. Establish a consistent title style and use it to signal the beginning of each step. Keep each card focused on one idea.
Templates are a starting point, not a requirement to use every decorative element. Choose readable type, check contrast, and avoid placing important words where platform controls may cover them. Confirm the license of any stock image or audio asset, especially if the tutorial promotes a business or is produced for a client.
5. Audacity: clean and assemble narration
Audacity is relevant when the main challenge is the voice track. You can edit pauses, remove unwanted sections, and prepare narration before assembling the video. A quiet room and sensible microphone placement make a greater difference than trying to repair a poor recording afterward.
Read the script aloud before recording. Written instructions often sound more complicated than they need to be. Replace long sentences with direct steps and explain unfamiliar terms the first time they appear. Listen through a phone speaker as well as headphones; many viewers will hear the tutorial on small devices in imperfect surroundings.
6. DaVinci Resolve: assemble a more detailed lesson
DaVinci Resolve is an option when you need closer control over the sequence of clips, narration, and titles. Begin with the basic cut. Arrange the screen recording in a logical order, remove repetition, and make sure the narration matches what is visible. Add transitions only when they clarify a change of topic.
Check hardware requirements and the features included in the version you use. A demanding editor can be unnecessary for a simple lesson. If your computer struggles with large files, investigate an appropriate preview workflow rather than assuming that the final video must be lower quality. Keep original recordings separate from temporary editing files.
7. HandBrake: prepare a practical distribution copy
HandBrake is useful near the end of production, when a finished video needs a more practical file size or encoding format. A smaller copy can be easier to share with learners who have limited bandwidth. Preserve a high-quality master and make distribution copies from it.
Do not judge compression only by the number of megabytes saved. Watch the smallest text and detailed screen elements after conversion. If the viewer can no longer read a menu or formula, the file is too compressed for the lesson. Test playback on the device your audience is most likely to use.
A simple workflow for the first tutorial
Write one sentence describing what the viewer should be able to do afterward. Turn that goal into three or four steps, then identify the visual needed for each. Use real recordings for actions and facts. Use generated visuals only where an illustration genuinely helps, with appropriate context and disclosure.
Record narration, assemble the basic sequence, and add readable captions. Ask someone unfamiliar with the subject to follow the lesson without extra explanation. Their confusion is valuable feedback: it often reveals a missing step or an unexplained assumption. Fix those problems before adding music or polishing effects.
The best toolset is the smallest one that produces a clear, accurate lesson. Track production time, viewer questions, and whether people can complete the intended task. Those observations are more useful than chasing a universal ranking or collecting subscriptions that do not improve your teaching.
Disclosure: This article is sponsored by Magic Hour. Options are grouped by workflow suitability; this is not a hands-on benchmark, an independent paid-ranking claim, or a guarantee of results.